If your Shopify store is starting to look like a garage sale with no labels, congratulations — it's time to create collections.
Collections help you organize products, improve navigation, boost SEO, and make your store way easier to shop. And no, it's not complicated (even if Shopify sometimes makes it feel like it is).
Don't worry. You don't need to be a developer or have years of experience. This guide will walk you through creating collections the right way, whether you're starting with a few products or managing a growing inventory.
What Is a Collection in Shopify?
A collection is simply a group of products. Think of it like organizing your store into categories that make sense.
Examples:
- "New Arrivals"
- "Best Sellers"
- "Summer Sale"
- "Hoodies"
- "Men's Shoes"
Collections let customers find what they want faster, which usually means more sales. Win-win.
The Two Types of Shopify Collections (This Matters)
Before clicking anything, you need to know this 👇
1. Manual Collections
You add products by hand.
Best for:
- Small stores
- Limited products
- Curated collections like "Staff Picks"
Downside:
- You have to remember to update them (future you may forget)
2. Automated Collections (Smart Collections)
Products are added automatically based on rules.
Best for:
- Growing stores
- Large inventories
- Categories like "Under $50" or "T-Shirts"
Pro tip: Most stores should use automated collections.
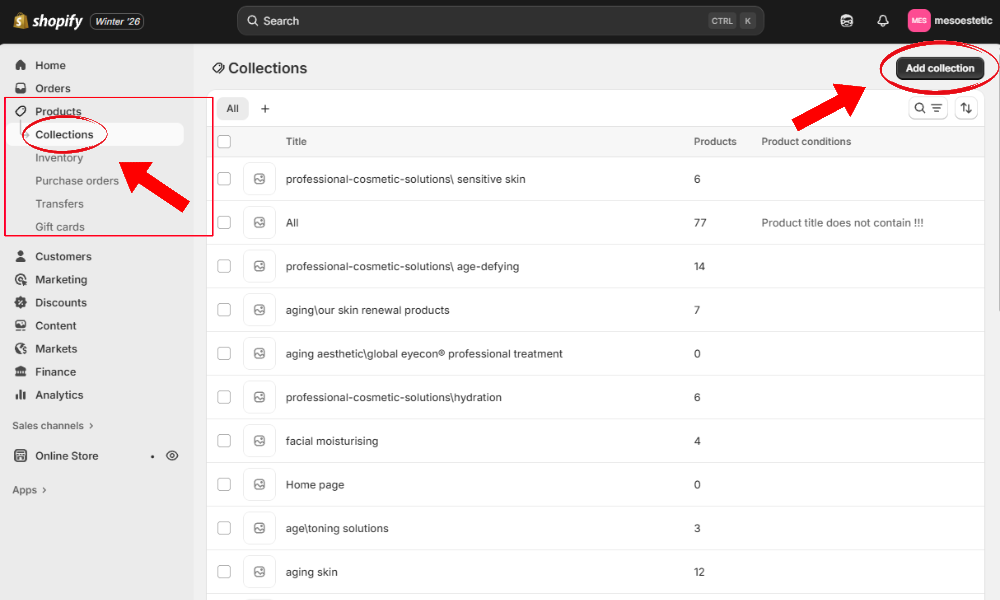
Step 1: Go to Collections
From your Shopify admin, navigate to the Collections section.
- Click Products in the left sidebar
- Click Collections
- Click Add collection
Step 2: Name Your Collection (Think SEO)
Your collection title matters for Google and your customers. Choose a name that's clear, descriptive, and includes relevant keywords.
Example:
Good example: "Women's Activewear", "Men's Leather Jackets", "Affordable Gym Equipment"
Bad example: "Collection 1", "Stuff", "Things"
Keep it:
- Clear
- Simple
- Keyword-focused
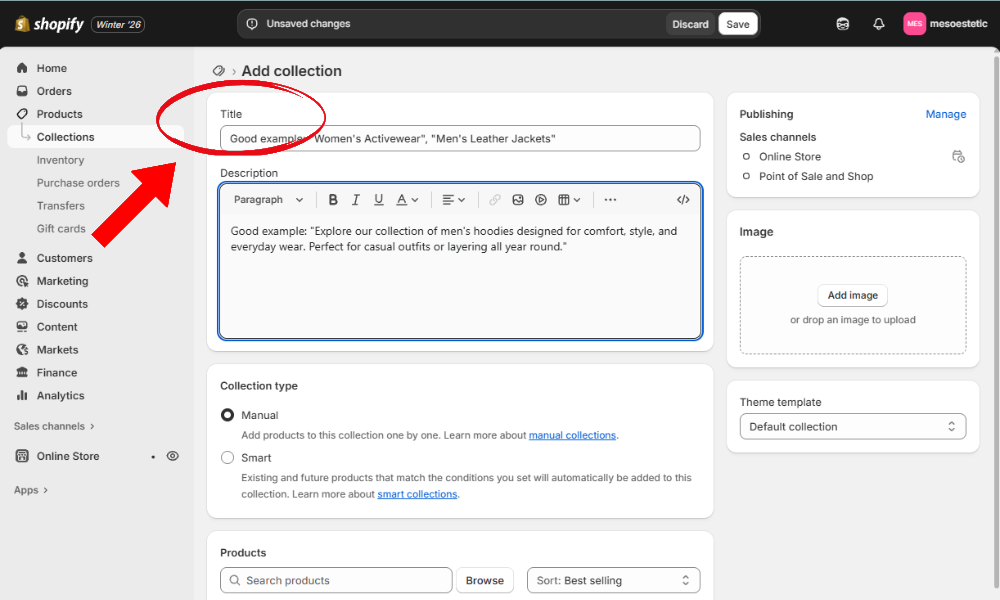
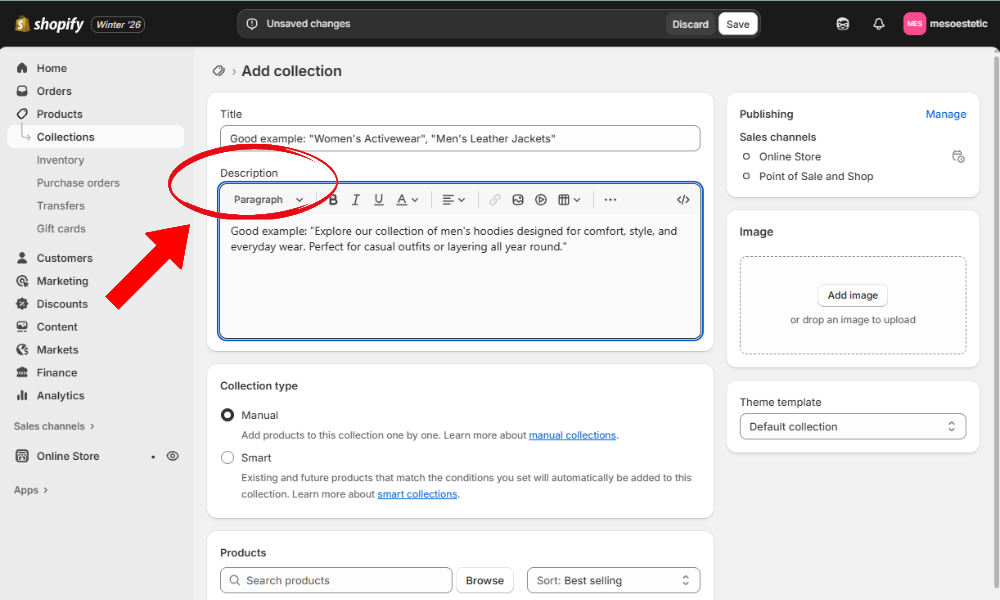
Step 3: Add a Collection Description (Yes, It's Important)
This is gold for SEO. Write 2–4 short sentences that describe the products naturally.
Guidelines:
- Describe the products
- Use natural keywords
- Write for humans, not robots
Example:
Good example: "Explore our collection of men's hoodies designed for comfort, style, and everyday wear. Perfect for casual outfits or layering all year round."
Bad example: "Hoodies." (Too short, no context)
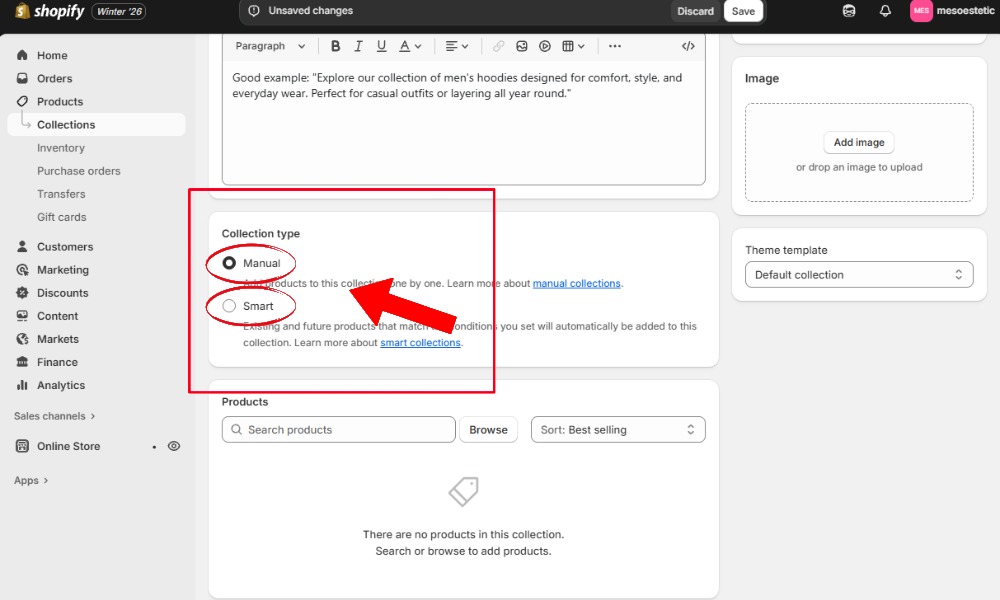
Step 4: Choose Manual or Automated
Select your collection type:
- Manual → You'll add products yourself
- Smart → Shopify adds products using rules
If you're unsure, go automated. You can always change it later.
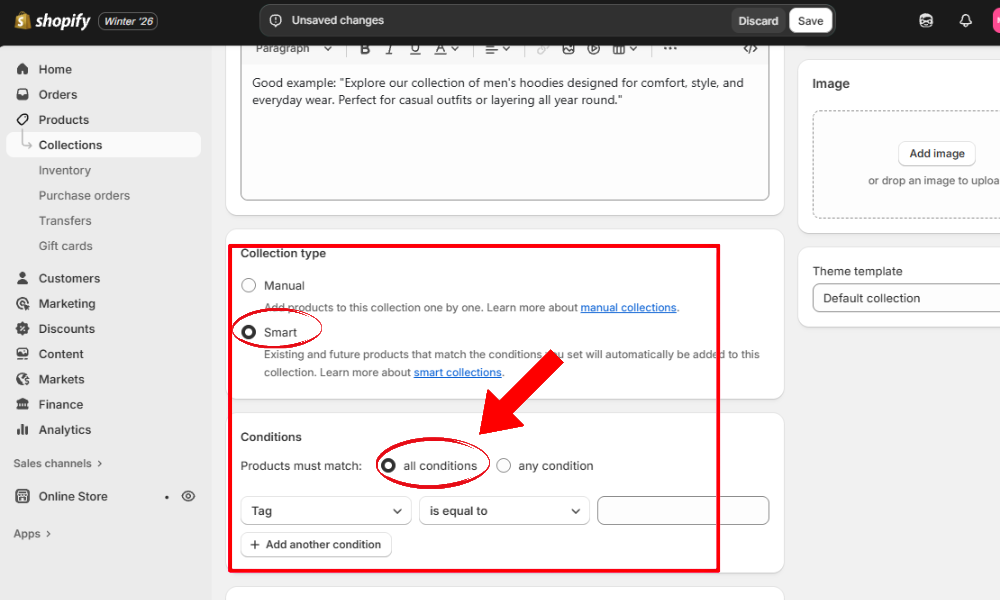
Step 5: Set Collection Rules (Automated Only)
If you chose automated, you'll need to set up rules that determine which products get added automatically.
Examples of useful rules:
- Product tag contains "hoodie"
- Product type is "Shoes"
- Price is less than $100
- Vendor is "Nike"
You can combine rules for better control.
Example:
Good example: Product type = "Shirt" AND tag contains "summer" → Creates a smart collection of summer shirts automatically
Bad example: No rules set → Collection stays empty
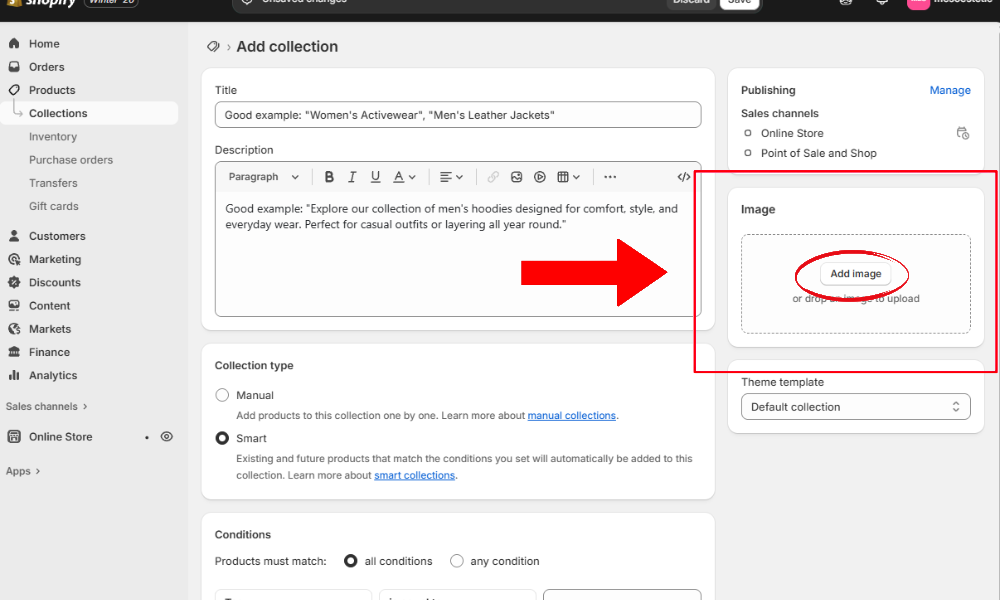
Step 6: Add a Collection Image
Your collection image appears on collection pages, homepage sections, and menus (depending on your theme).
Use:
- Clean images
- Lifestyle photos
- Consistent style
Avoid:
- Low-quality images
- Text-heavy banners
Step 7: Save (Don't Forget This Part 😅)
Click Save.
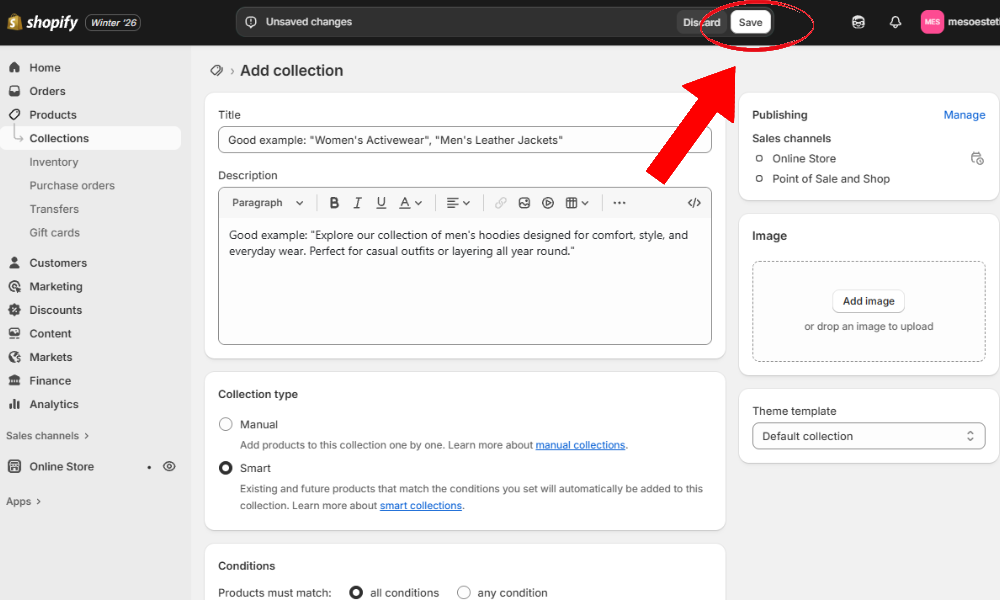
Yes, people forget this more often than you think.
Step 8: Add Products to a Manual Collection
If you chose manual, you'll need to add products yourself.
- Open the collection you just created
- Scroll to the Products section
- Click Browse
- Select the products you want to include
- Click Add
Simple and controlled.

Bonus: How to Show Collections on Your Shopify Store
Creating collections is step one. Showing them is step two.
You can display collections:
- In your main menu
- On the homepage
- On a collections page
Most themes let you add a "Collection List" section in seconds through the theme editor.
Common Mistakes to Avoid
- ❌ Not using tags consistently (makes automated collections impossible)
- ❌ No collection descriptions (missed SEO opportunity)
- ❌ Too many similar collections (confuses customers)
- ❌ Forgetting to link collections in the menu (collections exist but no one can find them)
- ❌ Using random names with no keywords (hurts SEO and clarity)
Avoid these, and you're already ahead of many stores.
Final Thoughts
Collections aren't just for organization — they're better for SEO, better for user experience, and better for conversions. Set them up correctly once, and Shopify does most of the work for you.
If you're running a growing store, automated collections + good tags = sanity. If you find yourself overwhelmed or need help setting up a complex collection strategy, consider reaching out to a Shopify expert who can help you optimize your store structure.